
Taking screenshots on Windows is an essential skill that comes in handy for various purposes, including creating tutorials, capturing important information, and troubleshooting issues.
Whether you are a blogger, content creator, or just someone who needs to take screenshots regularly, this guide will walk you through the step-by-step process of capturing screenshots on Windows using the Print Screen (PrtScn) button.
By following this simple guide, you’ll be able to take screenshots quickly and efficiently, making it easier to create high-quality content and solve problems on your Windows device.
Here is a step-by-step guide on how to take a screenshot on Windows:
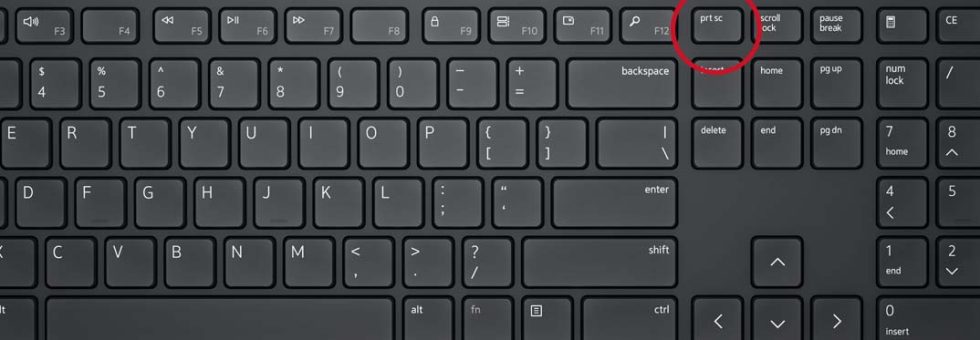
- Locate the Print Screen (PrtScn) button on your keyboard. It is usually located in the upper right-hand corner of the keyboard.
- Press the Print Screen (PrtScn) button to capture an image of the entire screen.
- If you want to capture a specific window or application, click on the window to make it active, and then press the Alt + Print Screen (Alt+PrtScn) buttons instead.
- Open the Paint application on your computer. You can do this by searching for “Paint” in the Windows search bar.
- Once Paint is open, press the Ctrl + V buttons to paste the screenshot into the program.
- You can now edit the screenshot as you wish using the tools available in Paint.
- Once you have made the desired changes, click on the File menu in the top left corner of the Paint window and choose “Save As”.
- Give the file a name and choose the location where you want to save it, and then click “Save”.
And that’s it! You have successfully taken a screenshot on Windows and saved it to your computer.


