
There are several ways you can take a screenshot on your PC, but the most flexible and easy one is the Snipping Tool, this utility comes preinstalled with Windows 10.
You can use Snipping Tool to grab a screenshot and save it as an image file without first pasting the screenshot into another program.
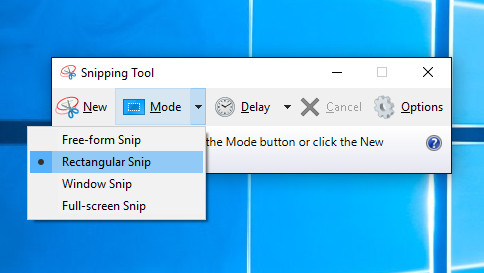
The default snip type is a rectangular snip, but you can also take free-form and full-screen snips along with a window snip.
Here is how to take a screenshot from your laptop or PC
- Search the Snipping Tool from the Start menu and open it.
- In the “Mode” drop-down, choose the kind of screenshot shape you want either – screen to rectangular to a free-form shape.
- Click New and your screen will freeze. You can then use the mouse to create the screenshot.
- The screenshot will then appear in the Snipping Tool window.
- If you want to include something like a tooltip, which only appears after a mouse movement, you can specify how long to wait before taking the screenshot using the Delay menu.
- Once you’ve taken your screenshot, you can use the drawing tools to annotate the screenshot.
- When you’re done, click “File” and then click “Save As” to save the completed screenshot to your computer.


